Where do you live? In your head, body or both? The reason I ask is that, as a health professional and movement teacher, I meet many people who live in their heads, and their body is just this thing hanging below their lower eyelashes, I kid you not!
While sometimes disconnecting from our body may be useful, it’s not a great place to live daily. Perhaps that part of the reason that the West has fallen for mindfulness, but lots of people are missing out on the benefits because they can’t sit comfortably or spend too much time in their heads.
Did you know that mindfulness can be experienced during movement? Mindful movement is any exercise or activity performed with conscious awareness and mental focus. The bonus is that mindfulness and meditation make our brains smarter too. It’s a win-win; the movement builds strength and increases flexibility and shift in focus helps calm the monkey mind of modern life, which science shows enhances our emotional resilience.
These are some of my favourite mindful movements/exercises. You can complete this little sequence in just 10 minutes, if you have more time, add a few more repetitions, enjoy.
Tips: During a mindful movement practice, you need to observe, notice and listen quietly and kindly. Adjusting and changing your position not because the movement is ‘wrong’ but only when it feels uncomfortable. To live in your body, you need to move it and move more of it more often.
Please note: while working without guidance, home exercise is your responsibility. STOP if you feel discomfort or pain.
Note: You don’t need to do the whole plan each time, but do try and balance the session with movement from each section
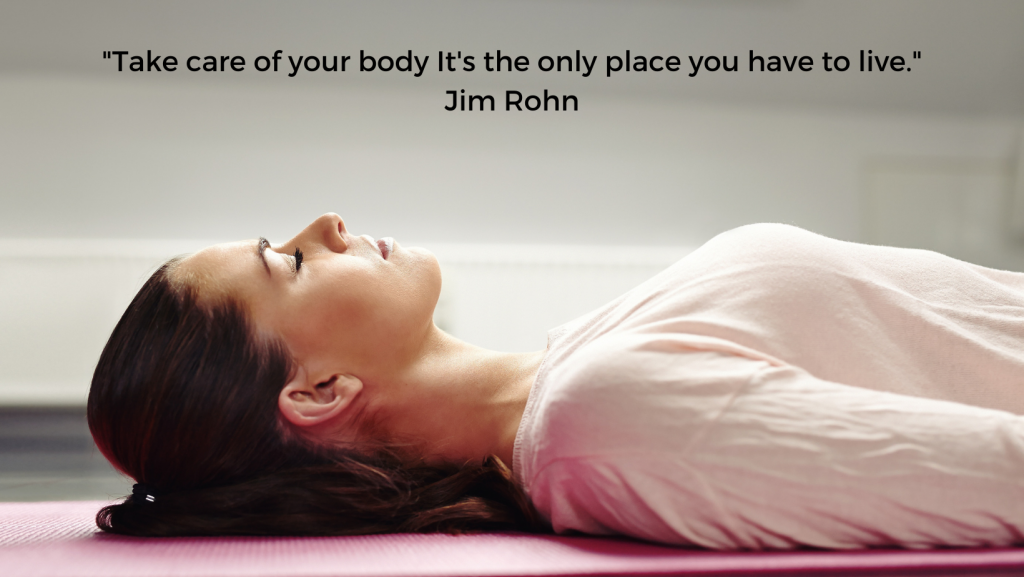
Starting position:
Unless otherwise stated each exercise will start in the Relaxation position. Lie on your back with knees bent and feet resting hip-distance apart on a mat. Your spine should be in neutral, head supported with a cushion or folded towel; your neck should feel relaxed and lengthened at the back.
1. Soma Scan
- Starting in the relaxation position with your arms away from your body and your legs relaxed out.
- Sense how your body is making contact with the ground, from your feet and legs to your back and shoulders. Slowly turn your head side to side to free up any tension in your beck.
- Allow your breath to lengthen, encouraging the whole ribcage to move especially the lower ribs.
- Sense how your diaphragm moves and allows your belly to lift.
- Hang around here for a few minutes, just breathing an noticing how your body meets the ground.
2. Supine Zig Zags
- Start in the relaxation position, with knees bent, feet wide apart on the edge of your mat. Arms out like the hands of a clock at 8.20
- Exhale: Slowly and gently send your right knee towards your left ankle, moving from your pelvis, notice the length along the side of your waist.
- Note your left leg needs to open out of the way to allow the knee to move towards your ankle
- Inhale: Return to the starting position
- Exhale: Repeat with the other leg
- Repeat five times on each leg.
3. Wash Rag Twist
- Starting position: Relaxation position, with arms straight out from your shoulders in a T shape.
- Movement: Upper Body: Roll your shoulders and arms to turn one palm to face the ceiling and the other to meet the floor. Turn your head to face the open palm. Repeat five times
- Movement: Lower Body: Allow your knees to drop to the side. Don’t force the movement to let it come from relaxing your waist muscles. Repeat five times
- Upper and lower body combined, wringing yourself out like a washrag. When you are ready to put the two movements together
- Inhale, allowing your knees to drop to the side, and let the same side palm to turn down. Turn your head n the opposite direction with that same side palm facing
- Continue this movement, your arms rotating gently in the opposite directions to your legs. Repeat five times
4. Spiral oyster
- Lying on your side, with your knees bent and your feet in line with your spine, shoulders stacked one over the other. Place your head on a pillow. Lie against a sofa or wall if you need help with the position
- When balancing on the smaller surface area of your side, your muscles are encouraged to work. Pelvic stability will result in greater hip joint mobility, greater hip tone, and better-toned thigh muscles.
- While exhaling, keep your feet together, lift your top knee in an arc, allow your pelvis to respond by moving.
- While inhaling, slowly circles the knee back as if drawing a spiral. Repeat five times on each side.
5. Arm openings
- Lying on your side, place your head on a pillow or cushion. Bend your knees bent, and stacked shoulder one over the other.
- Keep both arms together, and reach them directly in front of your chest.
- While inhaling, raise the upper arm to the ceiling without rolling backward.
- While exhaling, roll your ribcage, shoulders, and head backward, your raised arm should now be behind your back. Do not allow your shoulder to collapse towards your neck.
- While inhaling, hold this position. You should feel the stretch to your upper back, the upper-ribcage, and your chest.
- While exhaling, return to the starting position in step. Repeat five times on each side.
If you have more time repeat the sequence in reverse order.